Free Next Day Delivery Over £20 | Same Day Dispatch

Next-Day Delivery Over £20 | Same Day Dispatch
Free Next Day Delivery Over £20 | Same Day Dispatch
Next-Day Delivery Over £20 | Same Day Dispatch

Wondering "how long do vape coils last?" Look no further. Our guide to coil life will help keep your coils in tip-top shape so you can avoid that gnarly burnt taste.
Vape coils are the most crucial part of your vape kit, and because they degrade over time, you'll need to replace them regularly.
How long vape coils last will vary depending on a number of factors—some of which are avoidable, while some aren't. Our detailed guide goes into how to keep your coils going and have a better vaping experience overall.
If you're looking for more general information about vape coils, their various types, and how they work, check out our guide to vape coils for a deeper dive into the subject.
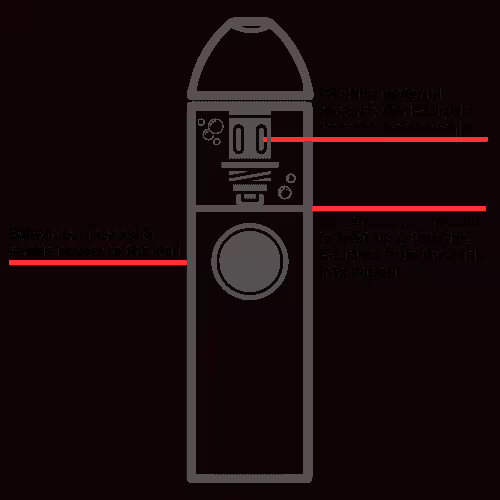
Vape coils work by conducting electricity from the battery to generate heat, which vaporises the E-Liquid in your tank or pod to produce a vapour for you to inhale.
A coil (or atomiser) has a metal casing with a piece of spiral-shaped wire or mesh inside, plus something called a wicking material, which acts as a sponge to soak up the vape juice around it. The coil heats the E-Liquid from the wick inside your device to create those big clouds of vapour vapers have come to love.
We cover more about the basics of vape coils in our beginner's guide to vaping.
As a general rule of thumb, replaceable vape coils will last you between 1 and 2 weeks. Pods with built-in coils will last you about a week before they'll need to be replaced.
In truth, time is not a good measurement, because everyone vapes differently. Your coil's lifespan will vary greatly depending on how much you vape, how often you vape, how you vape, and which E-Liquids you're using.
Vape coils burn when the elements inside build up with residue from your E-Liquid. This happens to all coils over time, though your vaping habits can cause this to happen faster.
If you notice a burnt taste, a gurgling sound, strange flavour, or an otherwise unpleasant taste, it's time for a coil change.
If your coils are burning out faster than expected, consider your vaping habits. Are you using the correct type of E-Liquid? Are you vaping continuously without giving the vape time to cool down between puffs? Are you vaping with the correct settings?
Read on for some helpful tips on which factors affect the lifespan of your vape coil.
Vapers used to assume that it was the vegetable glycerine (VG) in an e-juice that caused coils to burn out quickly, but this simply isn't the case. Let's take a closer look at what might be causing your coils to burn faster than they should.
The number one "coil killer" is sweeteners in your E-Liquid. Heavily-sweetened juices will kill coils faster than less sweetened liquids will, as the heat causes the sweeteners to caramelise around the conductive metal and accumulate on the wick.
Consider sugar in a frying pan: it doesn't cook, it burns.
This build-up of residue prevents the coil from heating up properly and the wick from absorbing more liquid, resulting in that horrible burnt taste that every vaper has come to dread.
If you're guilty of vaping ultra-sweet E-Liquids and you notice your coils burning faster than anticipated, you have two options here: switch to a less sweetened alternative, or simply accept the fact that your E-Liquid preferences are killing your coils.
Another equally important factor is chain vaping. If you're a heavy vaper and you tend to vape continuously without giving your device time to cool down, this can cause the coil to "dry burn."
Dry burning happens when the cotton wicking material doesn't have enough time to become saturated correctly between puffs. If you vape a lot in a short period of time, your coil's wick will dry out, which leaves the coil with nothing to vaporise—resulting in a dry, burnt-tasting hit.
If you notice your coils burning out quickly and you're guilty of constant puffing, try taking several puffs at a time, then setting your device down for at least a minute to allow your wick to re-saturate with E-Liquid.

If you use a high-powered device or one with variable wattage settings, it's crucial to ensure you're using the correct wattage for your specific coil. If your device does not have this setting, you can ignore this point.
All coils are rated for a specific wattage range. This will usually be noted in the product description, on the box, and on the coil itself. It'll usually say something like "rated for" or "best fired at" or simply "best," followed by a numerical range (e.g. 13-18W or 60-70W). The range will vary even among coils in the same range.
Always ensure that you're using the correct wattage for your coil, as using too much power can shorten coil life.
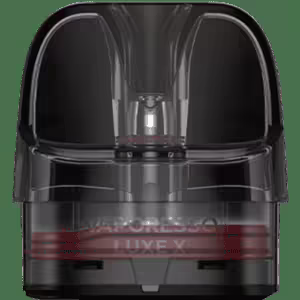
Not all vape coils can be directly replaced. Pods with built-in coils have the coil integrated into the pod, meaning the coil can't be removed. Instead, when the vape begins tasting burnt or muted, you'll need to discard the entire pod and replace it with a new one.
For these vape pods, the same rules still apply for extending coil life, but you may notice that your pods will start to degrade in about a week. A built-in coil generally won't last as long as a replaceable one will, which is one of the benefits of replaceable vs. built-in vape coils.
You can't keep your coil from degrading—it's inevitable. But there are a few things you can do to keep it going for longer. But remember: if you're getting a burnt taste, it's already too late. The only remedy is replacing the coil.
Priming is crucial when installing a new vape coil. Every new coil needs to be primed once (but only once) when replacing your old one. If you're looking for a more in-depth explanation on how to prime your coil, check out our handy guide.
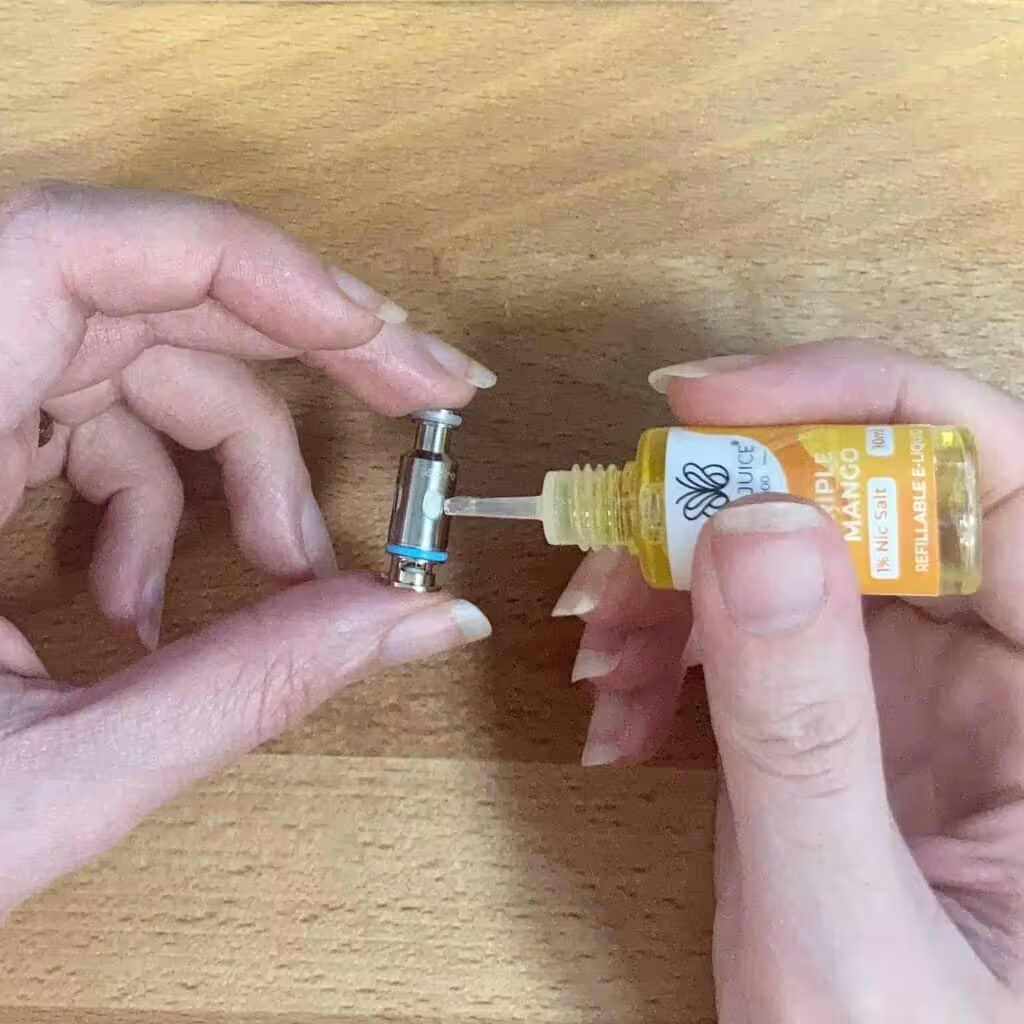
To prime a replaceable coil, locate the wick holes around the outside of your atomiser. You should see several small holes with bits of cotton. Using the tip of your E-Liquid bottle, place a few drops around the circumference of the coil on the wick holes. A drop on each hole will be enough.
If you can see down the middle of your atomiser from the top, place another drop down the middle to saturate the wick. Not all atomisers will have an exposed centre, so if yours doesn't, you can skip this step.
Next, fill your tank or pod with E-Liquid and let the coil sit for at least 5 minutes to allow the wick to soak up the juice. After this time, you're safe to start using it.
To prime a pod with a built-in coil, all you'll need to do is fill the pod with E-Liquid (remember not to overfill; only fill it to about 80% capacity) and let the pod sit undisturbed for about 5 to 10 minutes.
This should give the coil plenty of time to saturate before you start using it.
Every coil is designed to be used with a specific type of E-Liquid. Using other E-Liquid types in your vape kit can damage your coils and cause an all-around unpleasant vaping experience.
MTL coils, used in most pod kits and starter vape kits, should only be used with high-PG E-Liquids like nicotine salts and freebase 50/50 E-Liquids.
DTL or sub-ohm coils, used by experienced vapers wielding advanced vape kits, should only be used with E-Liquids that have a higher ratio of VG. This includes most shortfills.
If you're unsure which E-Liquids to buy for your specific device, check out our beginner's guide to E-Liquids.
There are some coils which offer better longevity overall. Ceramic coils, for example, don't have a traditional wick—instead, the metal coil is encased in a layer of ceramic, which is porous and offers great flavour production. These tend to last longer than standard cotton-wicked coils do and provide a crisper, more even taste.
Mesh coils, which are made of a netted material rather than a standard spiral-shaped wire, have a greater surface area for conducting power. As a result, they're able to heat more evenly and may "gunk up" slower than traditional coils would. And while mesh coils offer excellent flavour and cloud production, they consume more power and juice than standard coils do.
If you notice a gurgling sound, a muted flavour, or a burnt taste from your vape, you'll know it's time to change your vape coil. Once you taste that chemical-y, burnt flavour, the only way to fix it is by replacing your coil.
Changing coils is pretty easy, though the method will vary depending on the type of coil your e-cigarette or vape tank uses.
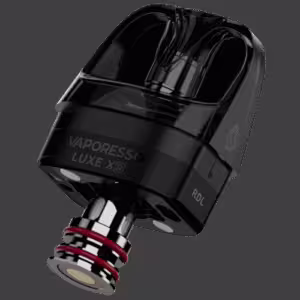
Most pod kits nowadays use press-fit coils. For this type, all you'll need to do is pop the the coil out and fit a freshly-primed new coil inside, ensuring it's pushed in all the way.
For older vape tanks using the screw-fit type, you'll need to unscrew the vape coil from the base of the tank and replace it with a new one that's been primed. If you're using a screw-fit coil, make sure it's screwed in all the way at the base. Otherwise, you risk your tank flooding with liquid.
How long vape coils last you will vary depending on your vape device, your vaping style, and your device settings. One of the biggest factors affecting coil life is your E-Liquid.
So, how long do vape coils last? Well, they should last you a week or two if you take good care of them. Remember to give your coil time to cool down between puffs, and ensure you're using the right E-Liquid and wattage for your specific vape coil. If none of these tips help, the sweetener in your e-juices might be to blame.
We're here to help you on your vaping journey, so if you have any questions, feel free to contact us via phone, live chat, or email. One of our expert team members would be happy to help you figure out why your coils are burning or how to get the best life out of your coils.

A self-proclaimed American Weird Girl in London, Rachel is a writer with 10 years of vaping experience. In 2021, she severed her decade-long love affair with Marlboro Reds using a pod vape and hasn't looked back since. Armed with degrees in creative writing and media, she's a passionate proponent of THR and helping smokers quit. Outside of writing, Rachel is a multi-instrumental musician, singer, wife, and mother of two black cats.